Tuesday, October 27, 2015

Beef Bone Broth


BONE BROTH

it's been thrown around as a "SUPER FOOD", but it's nothing new.  really, it's just homemade broth like my grandmother made.  she would often forget the bones simmering away on the stove.  little did she know she was extracting all the healthy nutrients found in those bones...
good broth can be made in a few hours, 

but...this COOKS FOR 2 DAYS !
it's worth it. 

the health benefits?...there are plenty.  i won't list them all. there is plenty of information out there...
i am not a nutritionist, but i DO know this is just good ol' school  
GOOD-FOR-YOU FOOD !

IMPORTANT NOTE... since this post i have found some great info on the subject that changed my broth method... Most importantly to add the vegetables in the last few hours to avoid a possible "burnt" flavor.  
Please read Stupid Easy Paleo.  "Bone Broth 101". Ryan Harvey, from "Bare Bones Broth Co.", is the guest post-er with a wealth of information... also, be sure to read the comments.

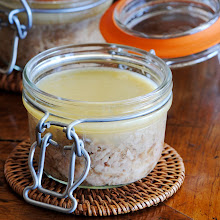
the finished product should be like beef "umami"broth.  no distinct flavor,  just delicate, viscous,  smooth, unassuming and dee-licious.  fabulous on it's own OR...use as a blank canvas.
flavor as you see fit.  i chose to freeze half, unseasoned. and throw some demi glace and tarragon in the other half.  i also used some for a "faux-BONE-PHO"...flavoring with star anise, clove, ginger, cinnamon etc...

FYI...grandma didn't have to worry about "organic" and "pasture-raised", but YOU DO!
 i did the best i could.
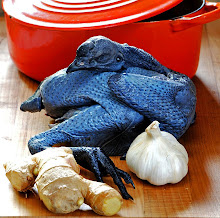
choose organic, hormone free, natural raised beef and chicken parts.   chicken feet and necks are a must.  they give great viscosity to the broth.


OXTAILS...good choice, i love 'em.
i removed the meat when it was good and tender to eat, then threw the bones back in.


put all your meats and bones into a big roasting pan.  i drizzled a little organic olive oil over everything.  380-390 F.  probably will take about an hour to get good and brown.  give them a check and turn things over half way through.


MEATS AND BONES
use all beef with some chicken parts (feet, necks and backs)
i can not tell you how many pounds of each or the total amount here, but the visual is photo above.

brown everything in 390 F oven for about an hour...check on them and give them a turn or two.
when finished put into large stock pot
BUT WAIT !...don't forget to deglaze the roasting pan.  you don't want to miss out on all that caramelized goodness
ADD FILTER WATER TO THE STOCK POT TO COVER BONES
AND... add a few Tablespoons of apple cider vinegar
bring to a boil, then turn down to a very low simmer.
24-48 hours.  mine was about 40 hours.
NOTE...i turned mine off during the night and left the lid slightly ajar.  when i woke up, it was still VERY warm.  then bring it back to a boil and down to a simmer again.
NOTE...i am NOT the food safety police.  you do what you feel comfortable with.

Vegetables/herbs go in the last 4-6 hours
2 carrots
2 celery stalks
1 large onion
5-6 smashed garlic cloves
sprigs of thyme and/or other herbs of choice 


strain liquid into another big pot.
don't toss the bones just yet.
you should to do a "BONE WASH".
there is still good stuff in there.  add a little (few cups at first) to the bones and left-overs.  swirl the water around to wash the bones.  now, strain this liquid into the pot with the broth. don't worry if it looks or tastes watery, you can reduce for extra flavor.

i used cheese cloth for the 3rd and 4th straining, but a regular strainer or colander is best for the first strain and bone-wash strain.

i poured broth into tall soup containers so it would cool faster.
let come to room temp so the fat will separate.
now put in the fridge for a few hours or over night so the fat cap will get solid for easy removal.
throw it in the freezer if not using within the week.
but...if you are ready to consume remove fat cap
(save fat cap for cooking.  great flavor and full of nutrients)
put all gelatinous yummy broth into a pot and reheat to a boil.
simmer for a while if you need to reduce.
NOW IS THE TIME TO SEASON
always season the finished product
i like to enjoy a cup a day so i might season each serving a little different...
salt, pepper, "flavorgod everything"
tarragon is a favorite
try soy and star anise
or a sprig of rosemary
maybe garlic blend and pinch of chipotle....

CHEERS... "A CUP A DAY KEEPS THE DR. AWAY"

Wednesday, September 3, 2014

Brined Double Wide Pork Chops


the BEST PORK CHOP i have EVER made!!!!
truly worth a try. i've done it 3-4 times.  delicious!

saw this recipe on the food network, Anne Burrell's show.  its much more flavorful than a regular brine. worth the extra chopping.


ORIGINAL found HERE

INGREDIENTS FOR THE BRINE

1/2 cup salt
1/3 cup sugar
1 Tbsp fennel seeds
2 Tbsp coriander seeds
1 tsp crushed red pepper flakes
3 bay leaves
1 small onion, diced
2 ribs celery diced
4 cloves garlic, smashed
1 1/2 quarts cold water
this will be enough for 4 -5 FAT bone-in (or not) pork chops

TO MAKE THE BRINE

in a large container, add all of the ingredients and stir to combine. wait for the sugar and salt to dissolve.  submerge the chops in the brine and refrigerate for 3 days...

WHOA !!!!! 3 DAYS WAS TOO LONG
the second time i brined for 24 hrs and it was perfect


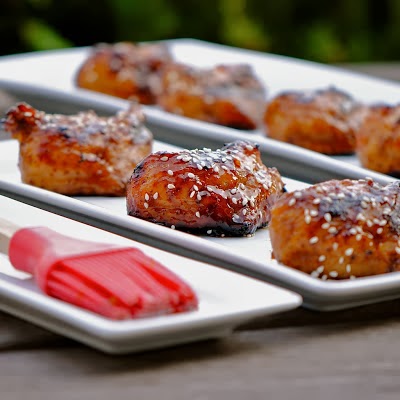
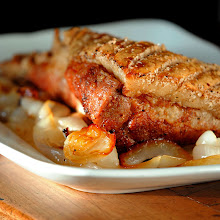
the chop above was brined for 24 hours. then sous vide for 6 hrs.  chilled in quick ice bath then quick sear on very hot BBQ.

dice small to get maximum flavor...
mix all ingredients in a bowl until salt and sugar dissolve.  then chose a proper container that will not leek in the fridge.  i use a large tupperware.

ABOVE is an example of 1 DAY BRINE.
it was my second try, also "sous vide" double wide.  SO MOIST !!!

BELOW is a pic of the 3 DAY BRINE...as you can see it almost looks like it has been smoked.  you can see the pink ring...
3 days is too long!


Wednesday, July 9, 2014

Spicy Pineapple Pepper Slaw


I'LL MAKE THIS QUICK....
cuz WHAT YOU SEE IS WHAT YOU GET...
this is a great salad on it's own, but perfect for tacos and the like.

SPICY PINEAPPLE SLAW
there are no specific measurements.
i make small batches of this all the time.  just use your taste buds.
a little of this and a little of that...
warning...this is pretty spicy

1st you need the Pickle Jalapenos i recently posted....
you will dress the salad with the juice and add some of the pickled jalapenos in...
1 small head of cabbage. 
 i usually use 1/2 heasd.  just depends on how much you are making.
diced pineapple
celery sliced thin might be nice...
cilantro
smoked black pepper
red pepper flakes
cumin
lime zest and or juice if you want

NOTE... SALT ONLY IF NEEDED and just before serving.  this will keep in the fridge, but if you salt it...it will weep and lose it's crunch factor.


i have also use nectarines, pineapple and shredded carrots...YUM !


Saturday, June 21, 2014

Chipotle Braised Short Ribs


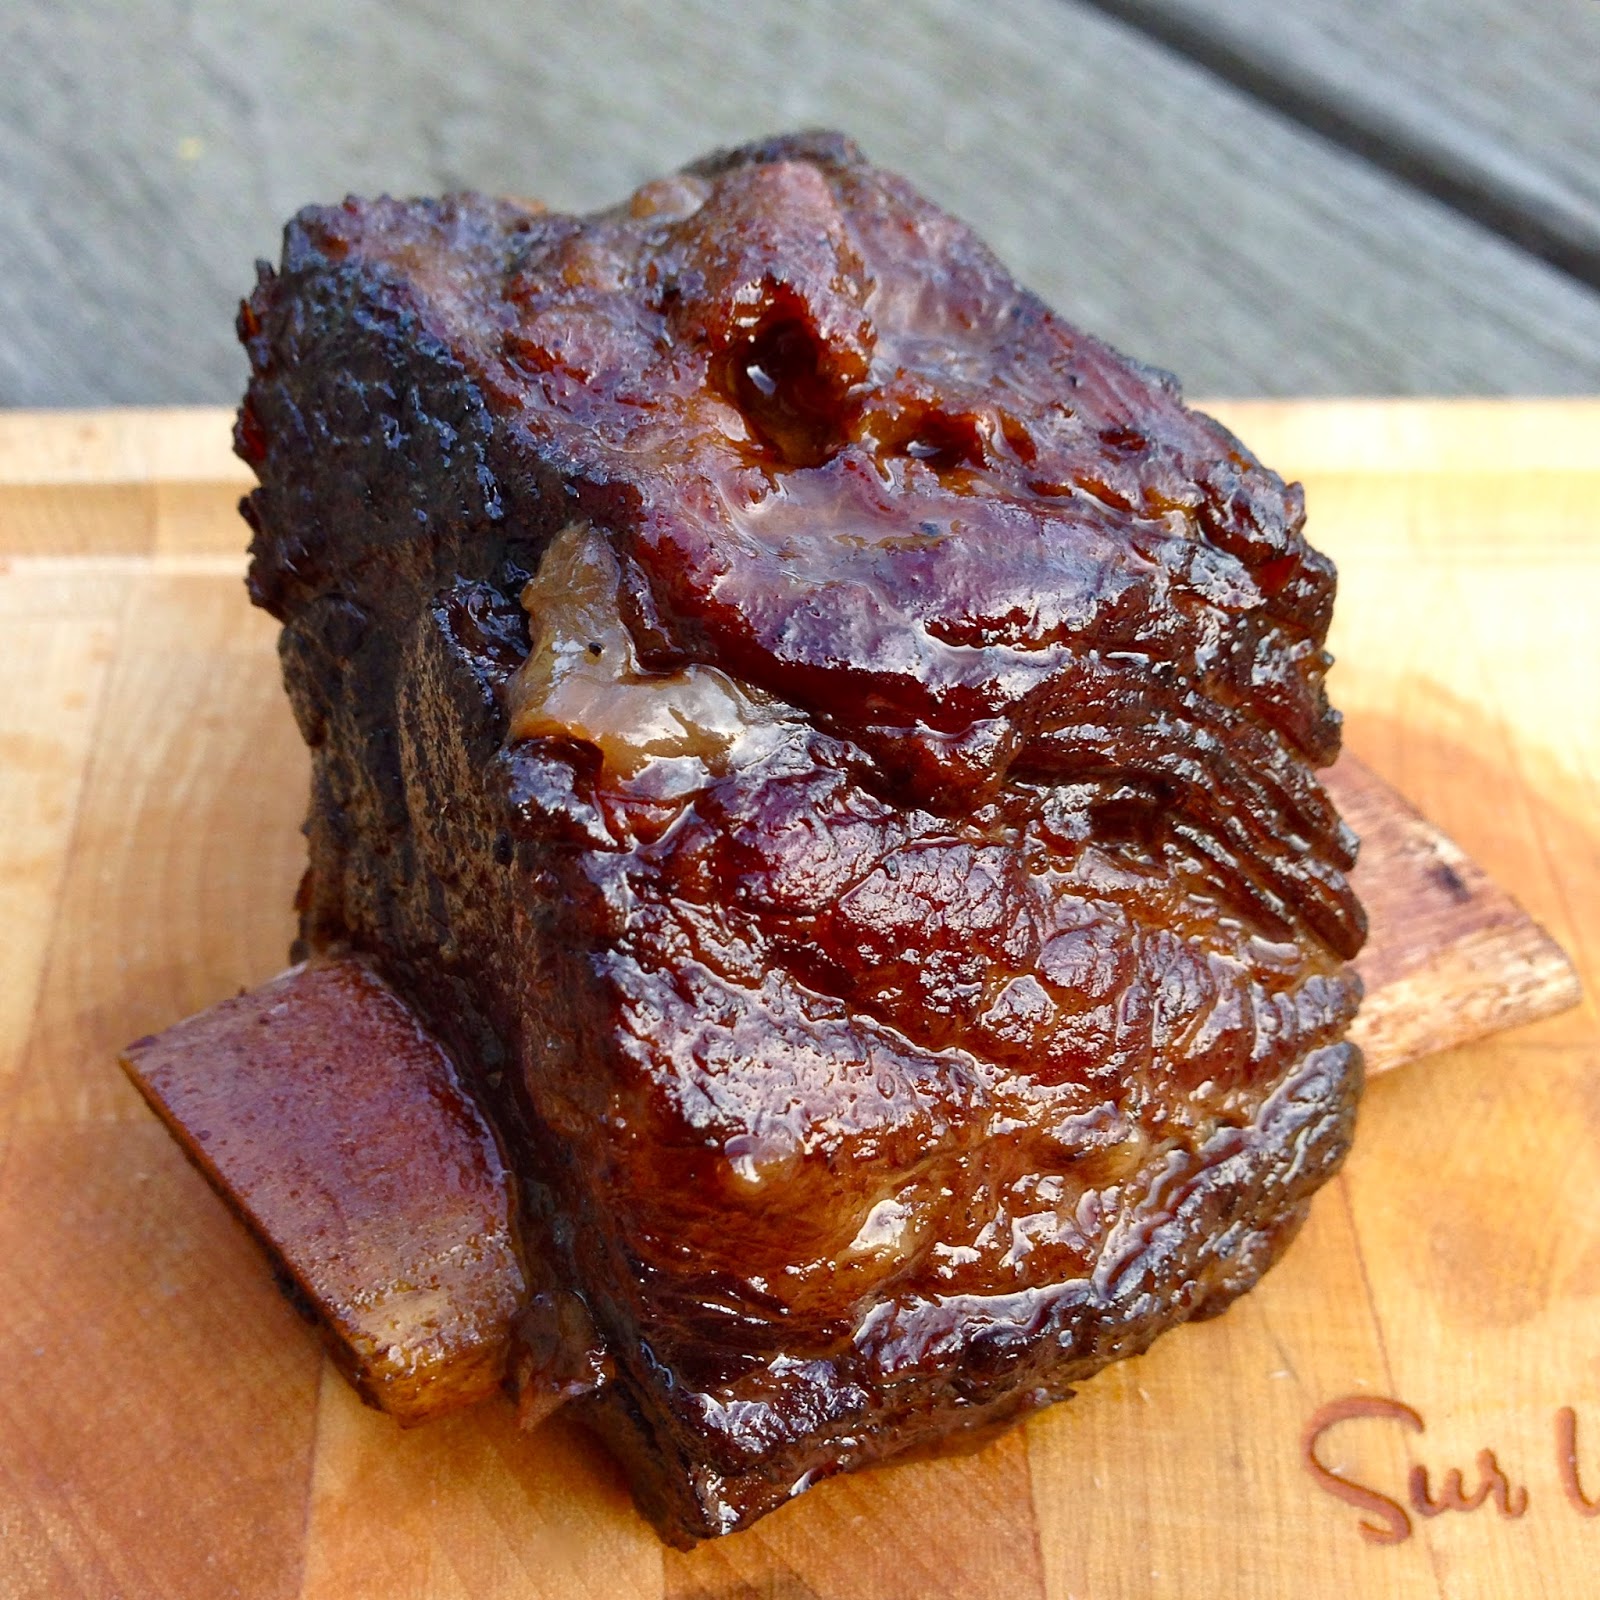
THE SHORT RIB IS KING !!!

BUT...this recipe is great for a lot of slow cooked meats....
i've cooked beef cheeks, pork necks and soon will test some pork belly and trotters.

AN ABSOLUTE MUST TRY !
go BIG or go home...
i mean...make EXTRA.
you will thank me later.

OH...and as the original recipe states...if you can wait a day after cooking, it gets even BETTER !


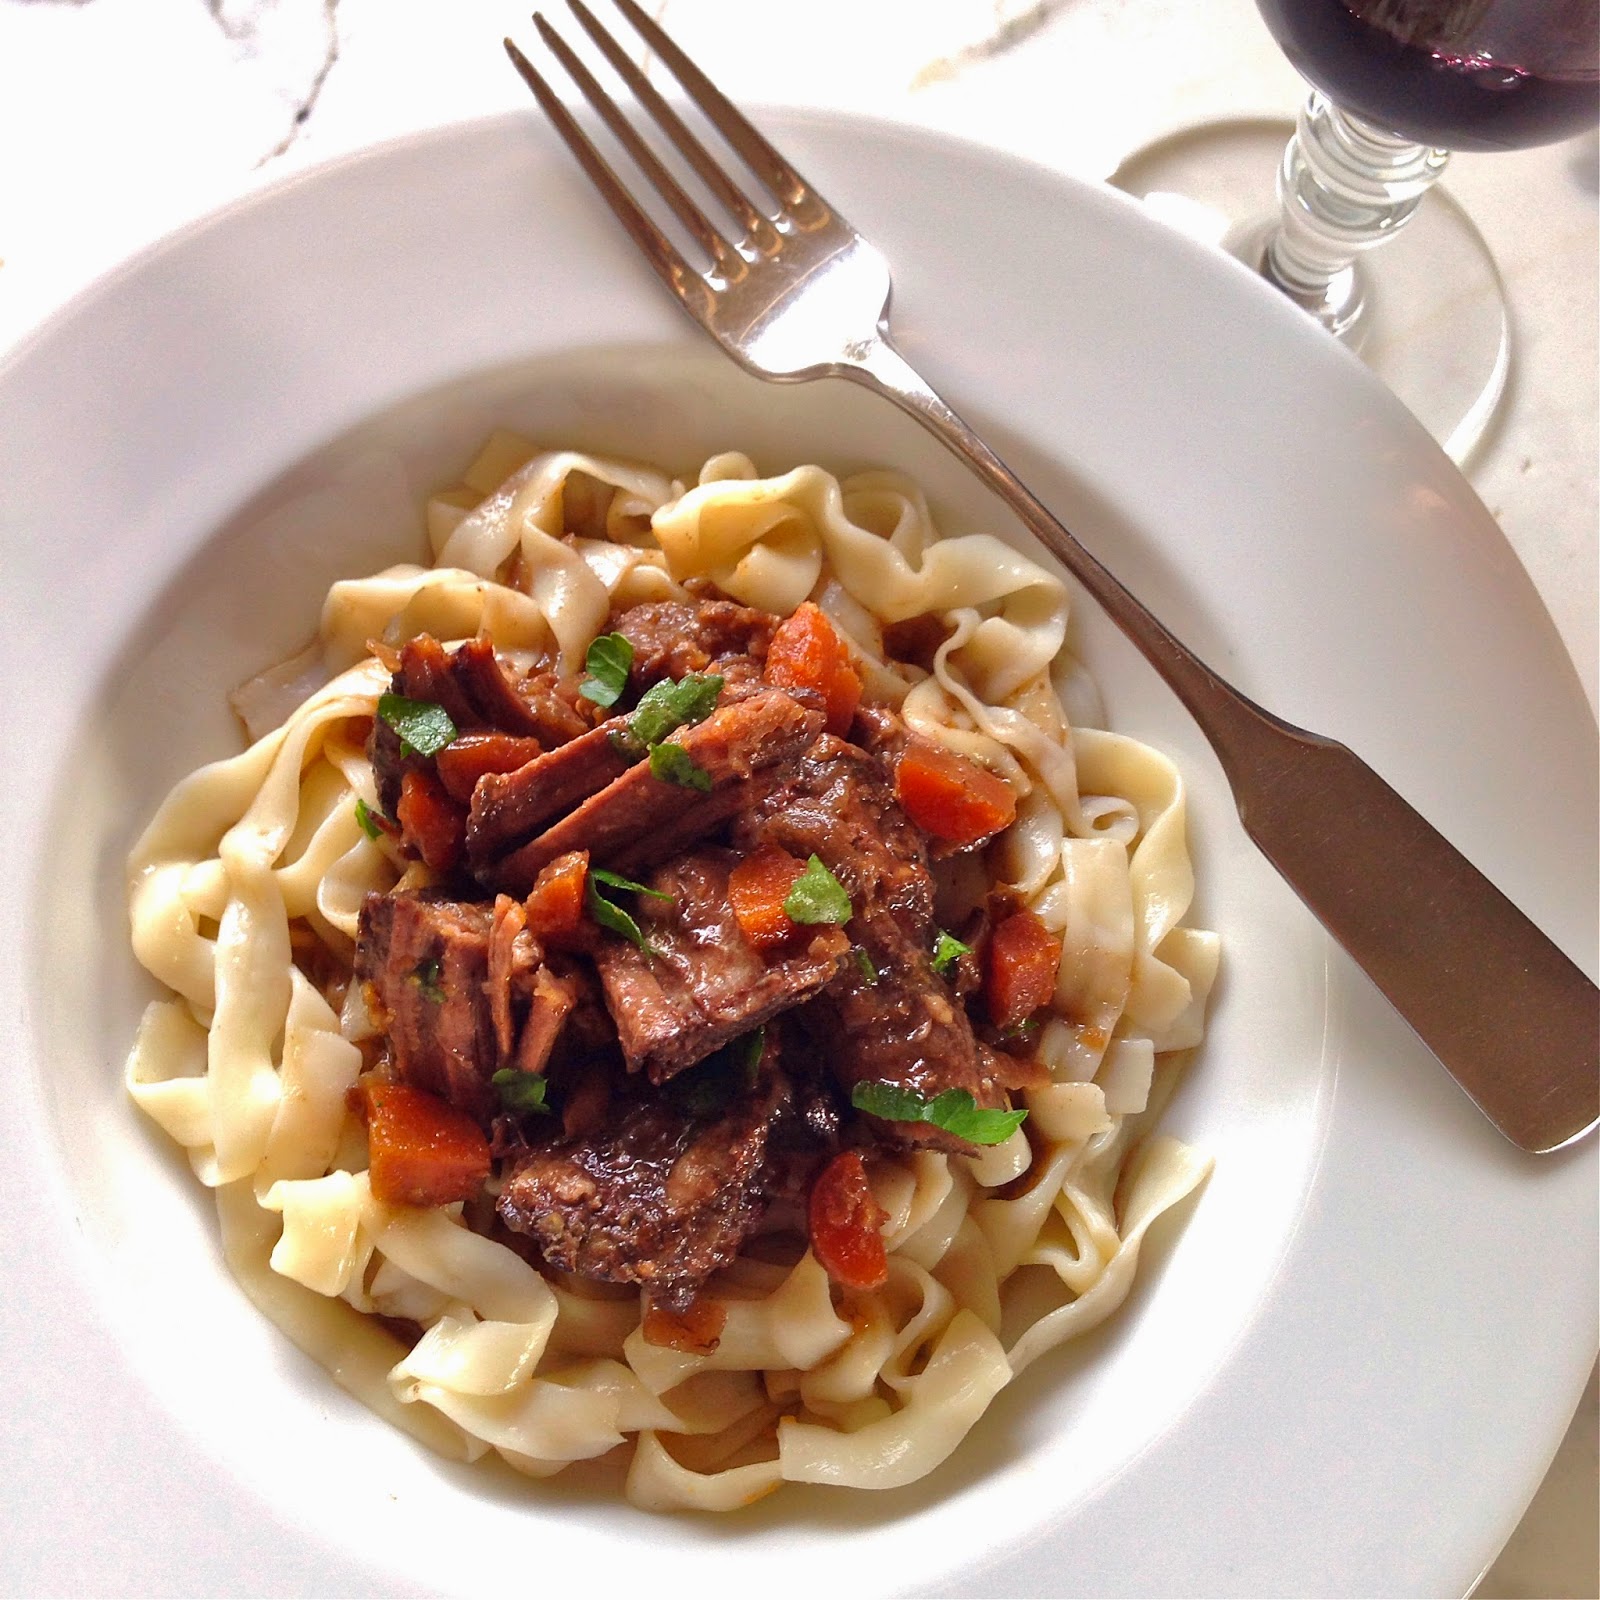
serve over rice, pasta, mashed potatoes, polenta steamed veg. etc....
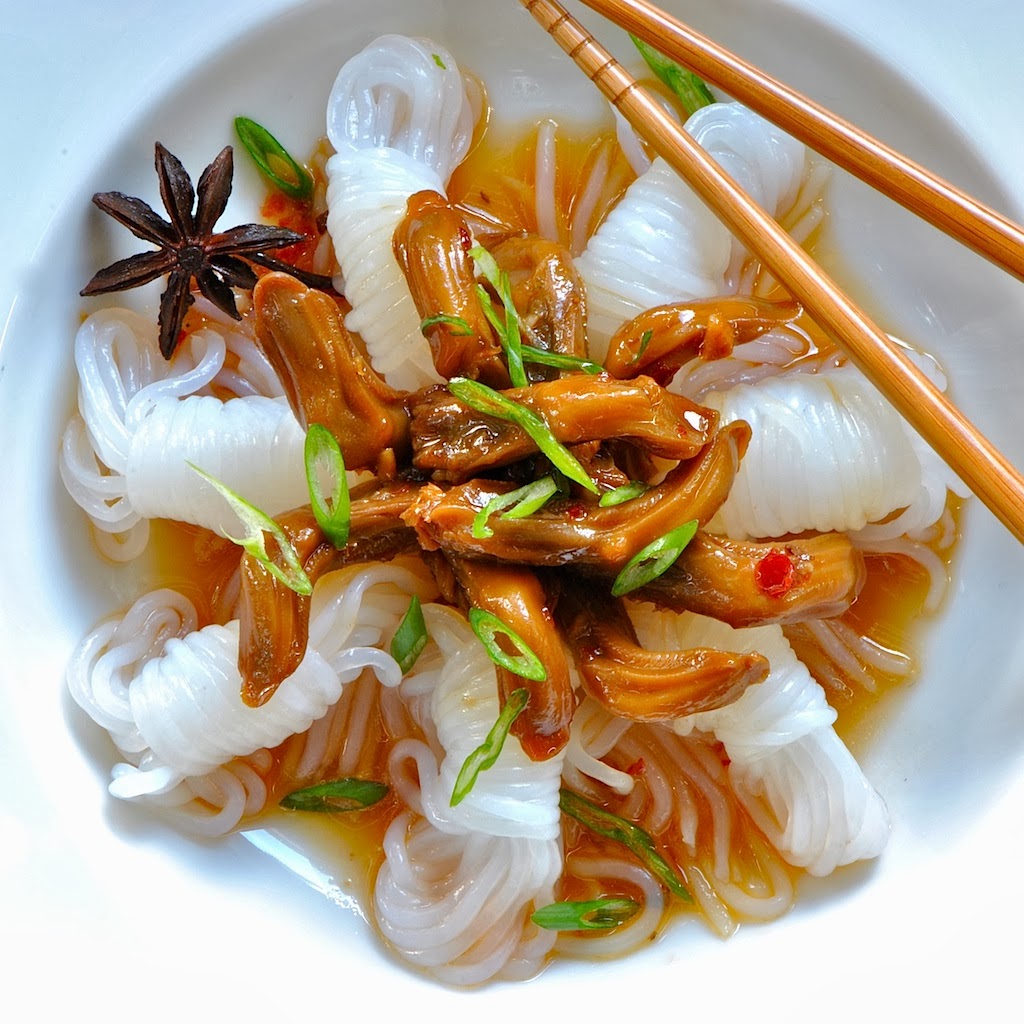
shown above with braising gravy/sauce and KONJAC Noodles for a gluten free Paleo-friendly hearty meal.


CHIPOTLE BRAISED SHORT RIBS
original found HERE

2 Tbsp olive oil
6-8 pieces short ribs
Kosher salt
fresh ground pepper
4 small carrots, diced
4 stalks celery, diced
i medium onion, diced
6 cloves garlic, smashed
2 Tbsp flour
4 chipotle peppers in adobo sauce...(or 2-3 if you can't handle the heat.)
2 tsp adobo sauce...(from canned chipotles)
note...i put 2 TABLEspoons.
2 cups red wine.  a syrah or zinfandel works.
1 cup beef stock (homemade is best. canned is a bit salty)
2 bay leaves

you can do this in a slow cooker, BUT...it is much better braised in a dutch oven.
preheat oven to 275F.
season the ribs all over with salt and pepper.  add a little olive oil to the dutch oven.  get your pot at med/hot and brown the meat on all sides.  do not crowd the pot.  you might have to do this in batches....set browned meat aside.
add carrots, celery, onion and garlic to the oil in the casserole pot.  cook on medium heat until vegetables are softened and golden.  about 10 minutes.  season with salt and pepper.
NOW...add flour, chipotle peppers and adobo sauce to the casserole with veg.  stir to combine.  deglaze the pot with red wine.  stir up ALL the good brown bits.  bring to a simmer and add the beef stock.
return the ribs to the pot and add bay leaves.  bring this to a slow simmer.  cover the pot and place in oven.  cook until the ribs are very fork tender.  about 3 hours.
IMPORTANT to check seasoning.  i tend to "under-salt".  you might want to add a little

PS...as Liren says...if you can wait or save some for the next day...they get EVEN BETTER

ENJOY !!!

get the biggest meatiest ribs you can find
dice your veg.  i think it looks good in the gravy/sauce.

Wednesday, June 11, 2014

Young Sweet Coconut...It's so good for you


so refreshing...
so beautiful...
so delicious !!!


dice it up and add to fresh coco water or any drink and make a
COCONUT BOBA 


add fresh fruit and drink straight from the NUT !


there's a load of information on the web about the health benefits so i won't bore you with the details but GOOGLE...check HERE for the  benefits of young coconut meat...  and HERE for some some nutritional facts i found at Livestrong.com.


but how do you get into this huge NUT !!!
1st...carve off the top with a big knife.  don't use your best knife.  i bought this cleaver at an Asian market for about 15.00$.  be careful....it's a bit awkward, but it's a lot easier than you think.  usually i put a kitchen towel underneath to cuddle and steady the coconut, but not this time.

carve down to the hard part.  you should end up with the top looking something like this.

"FINDING THE SWEET SPOT"
go around the edge between what you have carved off (the hard shell part) and the white outer skin/hull.  whack a few times around to "score" the hole/lid.  
THE SWEET SPOT...it's odd, but there is one area you will find that the corner of the knife will poke through.  give it a few hard taps to create a crack or hole. pour some coconut water out so you don't spill it all over when prying the top off..
you can now empty all the liquid...OR...just be very careful when prying lid off.


you should get about 1 1/2 to 2 cups of delicious sweet coconut water that is far superior to the store bought you've seen in the carton or can.
there might be little splinters so you should strain the water through cheese cloth.


using the butt of the knife stuck into the sweet spot, pry the lid off.  it should pop open as shown on the photo.  


getting to the meat of the matter...
then with a large spoon, scrape the soft jelly-like coconut meat out and store in your strained coconut water. OR JUST EAT IT !  you should be able to dice the thick part for your drinks.  
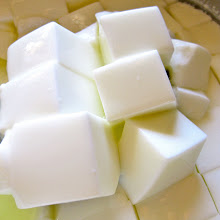
the young coconut meat has a very interesting texture unlike any crunchy, crisp coconut you are used to.  it's soft and pliable...almost gelatinous if really young.  you never know what kind you'll get, soft or firm, but it's delicious pure coconut goodness.
fabulous add to food and really fun in drinks.


Saturday, May 24, 2014

Pickled Jalapenos


SPICY SWEET SAVORY TANGY GOOD!!!
a great add to anything.  perfect for burgers, salad, charcuterie, PORK BELLY...i'd even put these on ICE CREAM!
 so much better than the mushy cooked store bought.  they're crisp, bright and pack a spicy wallop.
whip these up in about 10 minutes...they'll be ready in a few hours.  keep them in the fridge for an emergency PUNCH to any meal.


"QUICK" PICKLED JALAPENOS

4-5 fresh jalapenos, sliced thin
1/2 cup rice wine vinegar
1 1/2 Tbsp sugar
2 pinches of kosher salt
about 3 Tbsp filtered water.  to taste
NOTE...do a taste test.  i just threw this together.  you might like more "tang"...more sugar?...more salt?...

mix all the ingredients and stir.  wait until everything is dissolved.  put sliced jalapeno in jar of choice and pour in the pickling liquid.  ready in a few hours, but best after you refrigerate for a few days.  i think they will last quite a while in the fridge.  i am not the food safety police so i don't know exactly how long they will keep, but probably quite some time....use your judgment.

Monday, May 5, 2014

Best CRISPY Cracklin' Skin PORK BELLY. TACOS


unbelievable crispy skin pork belly.
this is what pork belly dreams are made of...
i could've eaten the whole thing right then and there...YIKES !


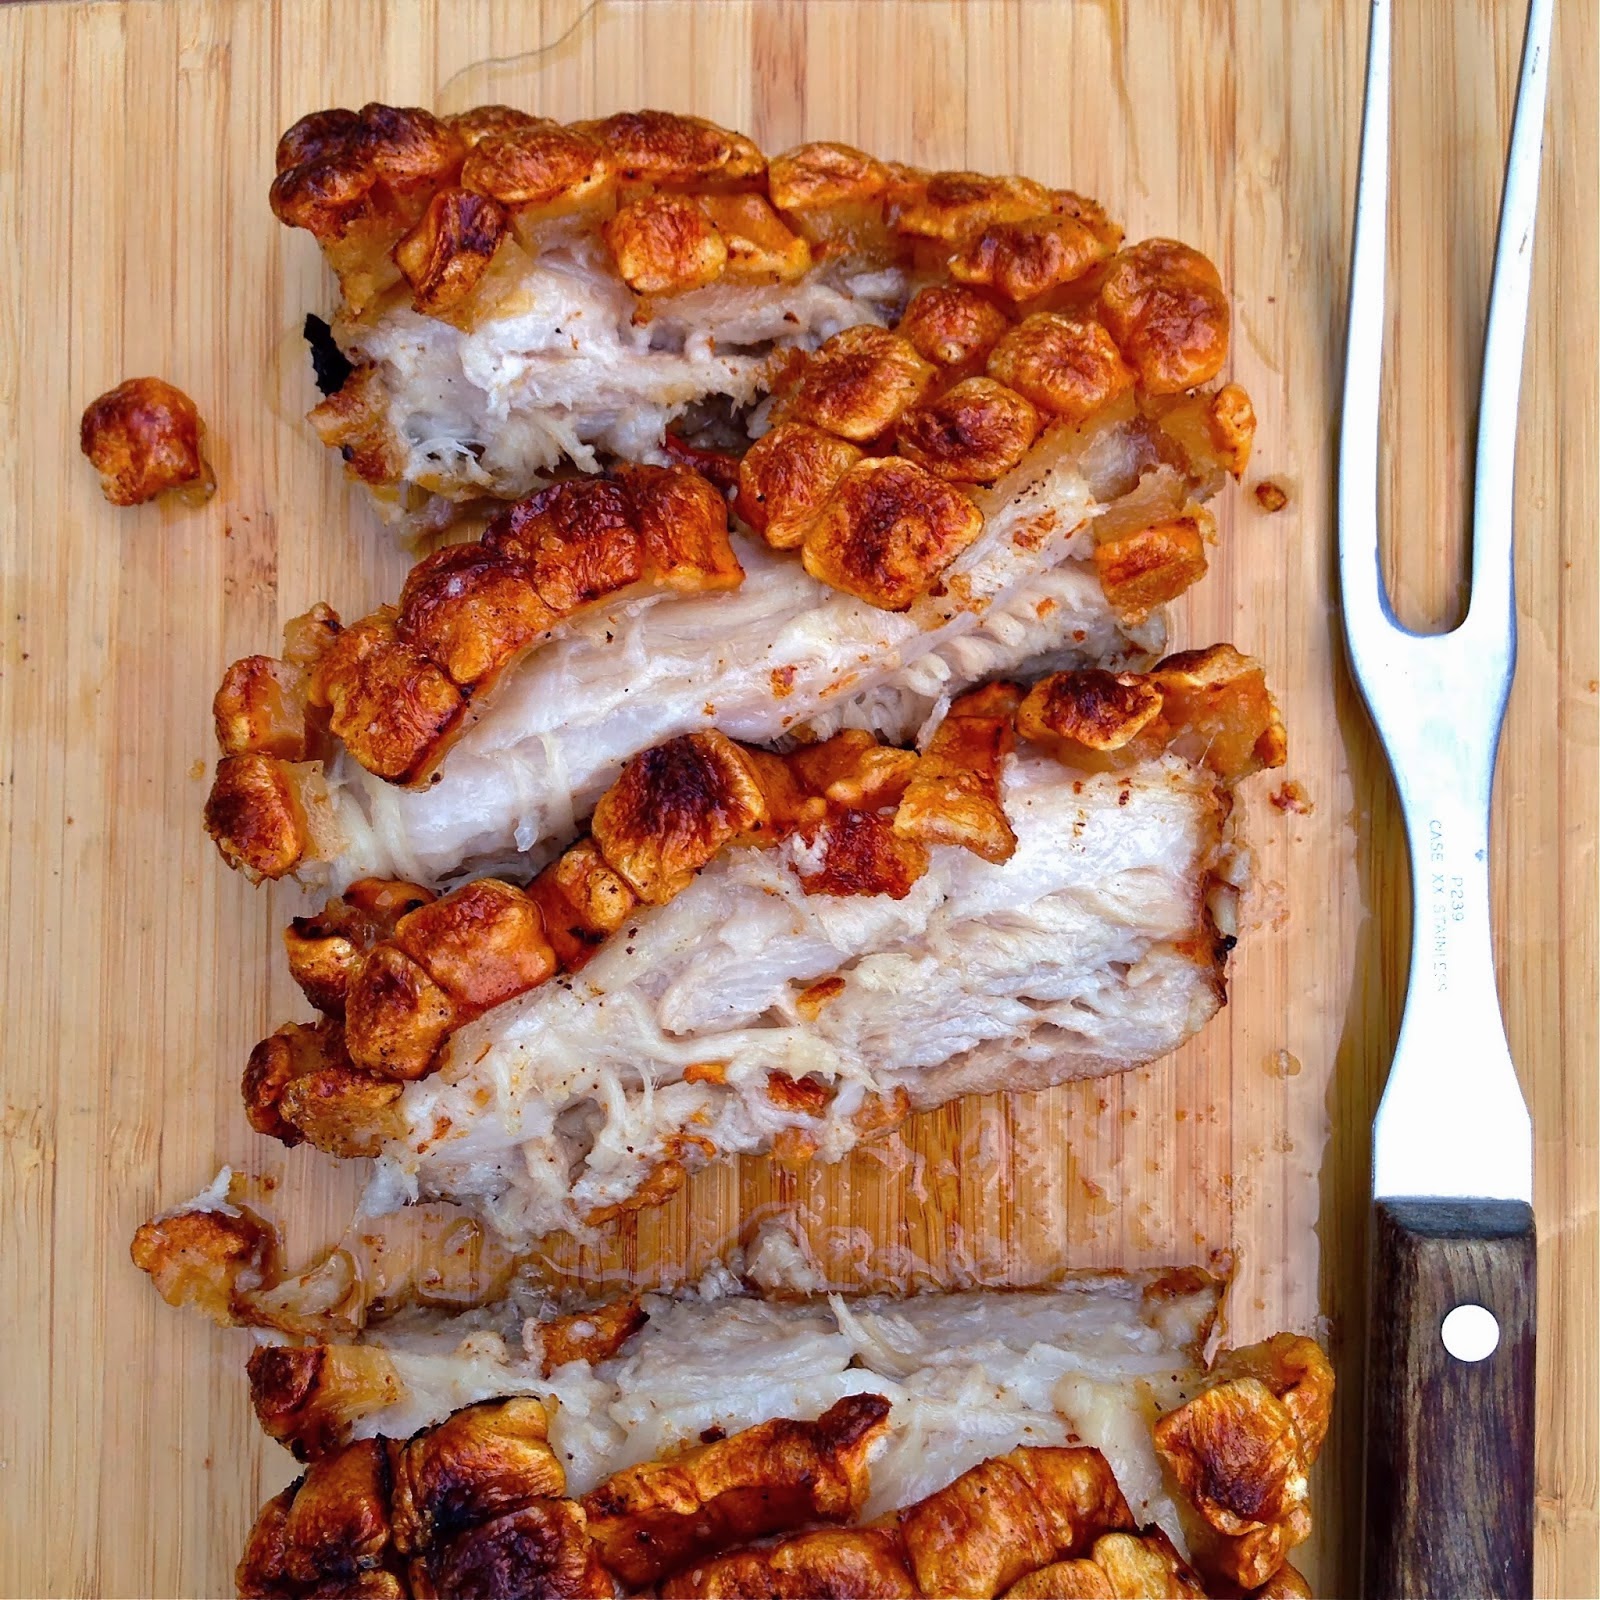
the BEST crispy skin i have ever accomplished.  
maybe it was the technique...maybe because i didn't mess with it.  maybe it was just THIS piece of belly...all i did was season it up and throw it in the oven. i don't know what is was, but...
it was DELICIOUS!


as you can see...it slices very clean after refrigeration.

TIP FOR STORING AND RETAINING CRISPY SKIN...
wrap cooled pork belly in parchment.  sometimes...MOST OF THE TIME,  i use a cut brown paper bag to wrap.  then place this in a storage container with the lid "ajar".
i have been able to keep the crisp for a few days.  you can sear it in a pan, or warm in a toaster oven.

this piece (above) was gently seared after refrigeration. 
use a very sharp knife or a box cutter works well.  
no need to roll it like this.  i just did it to get the salt in there and the photo of the cross hatch cut...
above is the way i prepare it for the oven...easy clean up using tinfoil, but not necessary.

CRISPY SKIN PORK BELLY
sprinkle salt, chipotle, coriander on the meat side.
sprinkle salt and just a bit of the chipotle-coriander on the skin.  let it get inside the cuts, but brush it off of the top.
make a bed of onions, garlic and shallots under the belly (now i also put green apple slices)
total cooking time was about 3 to 4 1/2 hours
IN  THE OVEN AT 280F
check on it after about 3 to 3 1/2 hours.  every pork belly is different!  poke it in the meaty part...is it REALLY fork tender?  go ahead and leave it in for an extra 1/2 hour or so.  when it is truly fork tender take it out of the oven and let it rest for 20-30 minutes.  turn your oven to 480F with top element only to preheat while it is resting.  
NEW NOTE...12-9-14  sometimes i remove the belly and put it on a different pan.  that way the bed of onions wont burn.  the onions might need to go back in under close watch for a few minutes to caramelize.  they are delicious!
NOW...put the belly back in and sit there and watch it.  it should start to puff up like popcorn.  let it do its thing until all looks crispy.  careful not to let it burn.
LET IT REST 20 MINUTES BEFORE SERVING

i have done this now 5-7 more times and every time it comes out perfect.

NOTE...use a VERY sharp knife.  OR you can turn the crispy side down and slice through the meat first to get a good clean cut on the crispy skin.


i'm telling you...it is melt-in-your-mouth meaty fatty goodness!

you could almost consider this a healthy taco...? or at least carb-free

Thursday, March 27, 2014

Asian Braised Pork Belly


like i always say...

you can't go wrong with pork belly.

it's easy, hard to over cook and always meaty fatty delicious.
this one is skin free and fully braised with Asian aromatics.
no crispy skin technique here...
this one just melts in your mouth.


it's definitely delicious after a 20 minute rest, but i like to let it cool and refrigerate.  then slice and give a quick sear in a medium hot pan.  serve with just about anything...on burgers, in a panini, with eggs, in spring rolls or just in is own broth with a few of the caramelized shallots.
FYI...it freezes well to.


2-3 pound pork belly, no skin

FOR THE BRAISING LIQUID

1/4 cup soy sauce
1 Tbsp sesame oil
1/4 cup rice vinegar
ginger juice, i squeezed a few slices with my garlic press
3 star anise
1 Tbsp brown sugar
a few ginger slices
mix this together until sugar dissolves.
TASTE TEST.  add a little more this or that if necessary.  i'm sure i did.
ALSO...if this is not enough liquid for a braise (because your braisers vary) add a little chicken stock or just some more of the ingredients above.
NOTE...the shallots will weep so do not over do the liquid or you will be boiling the bottom of the belly.

make a bed in the bottom of braiser as shown below...
shallots, smashed garlic ginger slices, star anise.


place belly on bed and pour over braising liquid.  sprinkle with salt and szechwan peppercorns.
cover and put in 320 F oven for about 2 hours, then turn down to 300 for about another 1 1/2 hour, maybe 2 hr...  check your braising liquid.  do you need to take some out?...do you need to add a little?
  EVERY PORK BELLY IS DIFFERENT
you just have to check on it.  if it is truly fork tender then it is ready.
TOTAL TIME APPROX. 3 1/2 TO 4 HOURS

don't worry about the dark ugly looking burnt pan.  this one cleaned off in minutes

serve as is, melt in the mouth...
OR chill over night and slice off and sear as needed.
Related Posts Plugin for WordPress, Blogger...